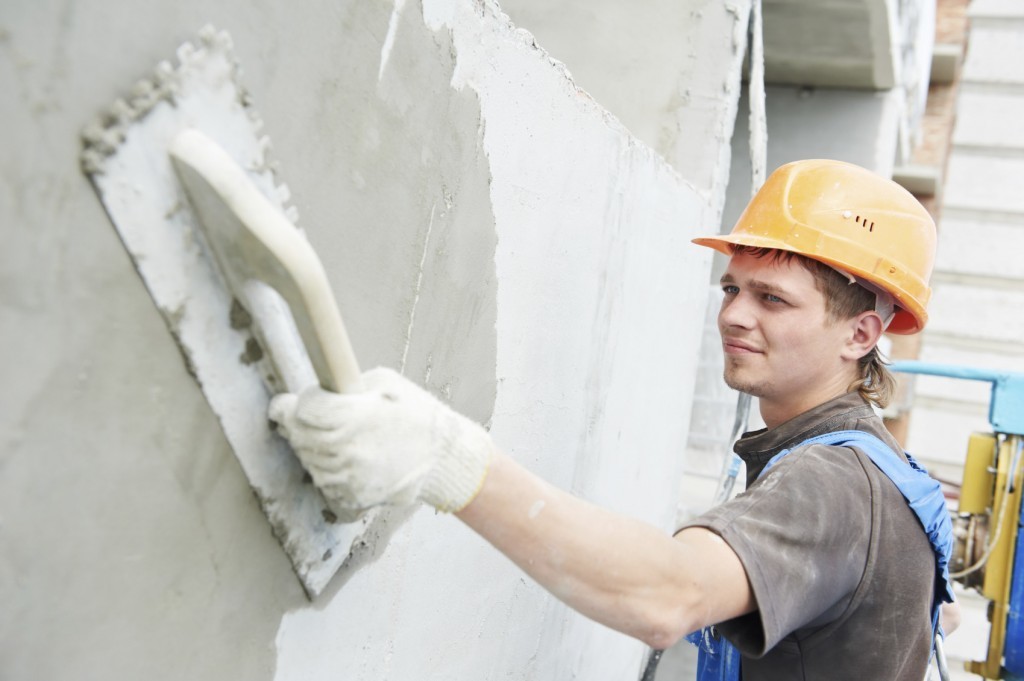
Some degree of cracking on internal walls is a common problem with a property of any age.
Little hairline cracks are not generally an indication that there is a structural problem with the house, unlike a much larger crack which can be a sign of something serious like subsidence.
Although they may not be a structural problem, small cracks can really spoil the look of a freshly painted wall. They are very easy to fix however and a small amount of effort can make a big difference to the look of a wall.
Equipment needed
Filling cracks in a wall is not the sort of project which needs a huge amount of expensive equipment.
All that is required is some filler, a spatula or spreader to put it on the wall and a sponge to wipe off any excess.
All large DIY stores have a huge range of different filler products and the choice of which filler to use will depend on both budget and where in the house it is to be used.
For a room with many cracks, it is more economical to buy a bag of powder filler which is mixed up with water before using.
If there only a few cracks, it is quicker to buy ready mixed filler even though it is a little more expensive.
As well as buying filler in tubes or packets, there are now also sticks available which makes getting the filler into the cracks far easier.
Preparation
 The ideal time to fill cracks is when you are getting ready to decorate the room.
Filler will dry white, and therefore can spoil the appearance of a room more than the cracks if the filler makes a big contrast with the colours of the room.
Clear out all of the furniture and mark all of the cracks to be filled with a pencil.
Mix up the filler and sort out the rest of the tools which are needed to do the filling.
It is better to start in one corner of the room and work around methodically rather than move around randomly as this will make missing cracks more likely.
Cracks are commonly found up high on the walls near the ceiling and if this is the case get a set of step ladders to make reaching up high safer.
Filling
Take a little filler on the end of the spatula or spreader and smear it across the crack.
Take care to get as much of the filler as possible into the crack in the plaster.
Once the crack has been filled, leave it to dry.
Once the filler is completely dry, you can then use sandpaper to sand over the area and ensure the surface of the wall is completely flat before starting to paint or apply wallpaper over the area which has been filled.
When filling, any large amounts of filler which get onto the walls or floor can be wiped off with a damp sponge before the filler has the chance to dry.
Repairing plasterboard holes
Plasterboard is hugely popular for building internal walls as it’s cheap, easy to install and the cavity which is left between the two layers of plasterboard makes it easy to run electrics and other utilities through the gap.
The downside to plasterboard is that it can be damaged if knocked and holes in your plasterboard finish are unsightly.
Luckily, patching up your plasterboard and repairing the holes is not a tricky task.
Getting the correct equipment for the job
The first thing to do before piling in and trying to fix a hole in your plasterboard is to make sure that your repair work is not going to affect any cables or pipes.
Use a cable, pipe and stud detector in the area around the hole to make sure that cutting around the hole to make a regular shape is not going to cause problems.
You are also going to need some tools – so get your spirit level, drill, measuring tape, screwdriver, board and plasterboard joining tape.
Having everything to hand means you won’t have to stop work to go off in search of a particular tool.
Square off the hole in the plasterboard
Start by squaring off the hole. Mark the position of the studs (the vertical strips running up the wall) in pencil and then use these vertical lines to draw a box around the hole.
Using a saw or retractable knife, cut along the lines to create a large square hole in the wall, with studs at each side.
Using off cuts of wood, the idea is to create a frame inside the wall, using the existing studs as the vertical sides and using new timber for the horizontal sides.
You will need to fit small “ledges” to the vertical studs for the horizontal sides to sit on.
Attach the wood securely with screws or nails.
There’s no need to be particularly neat as this will all be covered up eventually.
Covering the hole in the plasterboard
Carefully cut a section of plasterboard which is exactly the same size as the hole in your wall, then fix it to the frame you have created in the plasterboard wall.
Drywall screws should be used for this job.
When the patch is firmly in place, use plasterboard joining tape to cover the join between old and new plasterboard, going right over the corners.
Smooth it down well.
Finishing off a plasterboard repair
Mix up a small quantity of plaster, and carefully apply it over the area you have repaired, taking care to apply it as smoothly as possible and going right over the joining tape.
Leave it until it is completely dried.
Once dry, sand using fine sandpaper until the repaired section is flush with the rest of the wall, and paint to match – you’ll never know that there was ever a hole there.
Smaller holes are repaired in the same way, although you may get away without using plasterboard joining tape to seal the joins between the old and patched surfaces.
